Dyson Vacuum Battery Replacement Guide: Extend Your Cleaning Power
Dyson Vacuum Battery Replacement Guide: Extend Your Cleaning Power
When your Dyson vacuum's battery starts to drain quickly, it's a signal that it's time to replace it. This is a straightforward process that can be done at home with a few tools and some basic knowledge. With a new battery, your Dyson vacuum will be back to its original performance, and you'll be able to enjoy uninterrupted cleaning sessions.
Replacing the battery in your Dyson vacuum is a simple process that can be completed in about 30 minutes to an hour, depending on your level of comfort with DIY projects. The steps involved are relatively straightforward, and the tools required are minimal. This article will guide you through the process, highlighting the essential steps and providing valuable tips to ensure a smooth and successful replacement.
Before You Begin
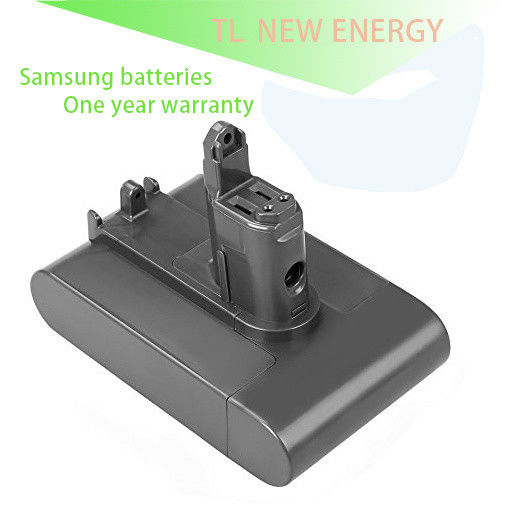
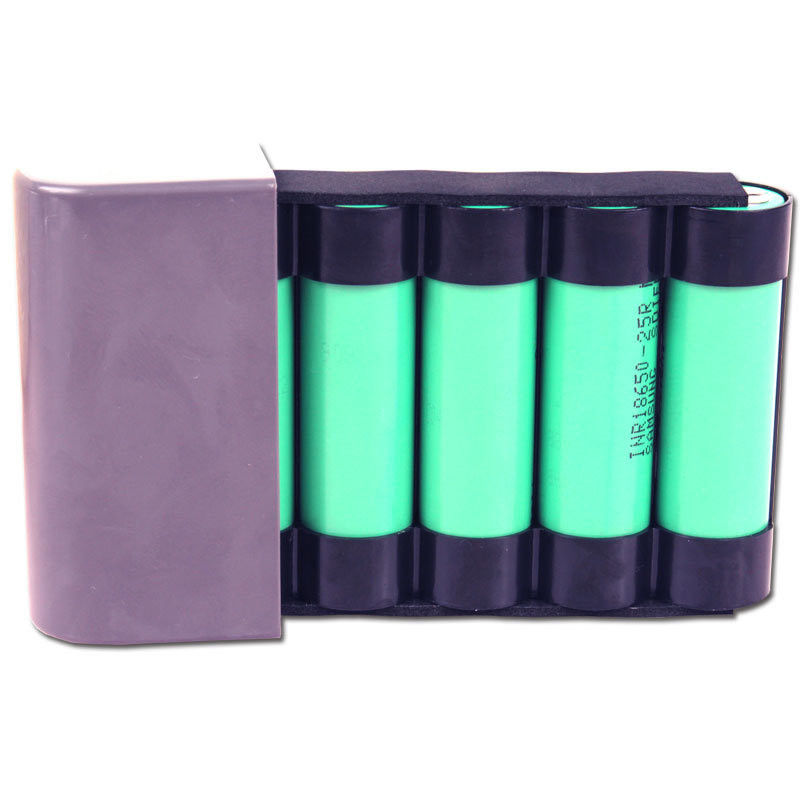
Before starting the replacement process, it's essential to ensure that you have the correct replacement battery for your Dyson vacuum. Dyson offers a range of battery options for its various models, so it's crucial to purchase the right one to avoid compatibility issues.
To find the correct replacement battery, follow these steps:
- Identify your Dyson vacuum model by checking the manufacturer's website or the device itself.
- Visit Dyson's website and navigate to the "Support" section.
- Enter your vacuum model and follow the prompts to find the correct replacement battery.
- Purchase the recommended replacement battery from a reputable retailer or directly from Dyson.
Additionally, make sure to gather the necessary tools, including:
* A screwdriver (usually a Phillips head or a flathead)
* A plastic spudger or similar tool
* The replacement battery
* The original battery (if you want to recycle it)
Disassembling the Vacuum
To access the battery, you'll need to disassemble the vacuum. The process may vary depending on the model, but the general steps are similar.
- Remove the screws from the bottom or side panel using a screwdriver. This will give you access to the internal components.
- Use a plastic spudger to gently pry open the panel. Be careful not to damage any surrounding components.
- Locate the battery, usually attached to the bottom of the vacuum with screws or clips.
- Disconnect any cables or connectors attached to the battery.
Disconnecting Battery Cables
When disconnecting the battery cables, take care not to touch any electrical components or damage the connectors.
Removing the Old Battery
With the cables disconnected, you can now remove the old battery. This may involve removing screws or clips that hold it in place. Be careful not to touch any electrical components or damage the surrounding areas.
- Remove any screws or clips holding the old battery in place.
- Gently lift the old battery out of its compartment.
- Set the old battery aside for recycling or proper disposal.
Installing the New Battery
The new battery should come with instructions for installation. If not, follow these general steps:
- Take the new battery and align it with the compartment.
- Secure the battery with screws or clips provided with the new battery or purchased separately.
- Reconnect any cables or connectors attached to the new battery.
Reassembling the Vacuum
With the new battery installed, you can now reassemble the vacuum.
- Place the battery compartment back in its original position.
- Replace any screws or clips you removed earlier.
- Reconnect any cables or connectors that were disconnected.
Reconnecting Cables
When reconnecting the cables, ensure they are securely attached and not touching any electrical components.
Testing the Vacuum
After reassembling the vacuum, test it to ensure the new battery is working correctly.
- Turn on the vacuum and check for any unusual noises or vibrations.
- Check the suction power and overall performance of the vacuum.
Troubleshooting Common Issues
If you encounter any issues during the replacement process or after testing the vacuum, refer to the Dyson user manual or contact Dyson's customer support for assistance.
Conclusion
Replacing the battery in your Dyson vacuum is a straightforward process that can be completed at home with the right tools and knowledge. By following this guide, you'll be able to extend the life of your vacuum and enjoy uninterrupted cleaning sessions. Remember to purchase the correct replacement battery and follow proper safety precautions to ensure a successful replacement.
Additional Tips
* Always follow Dyson's recommended guidelines for battery replacement and maintenance.
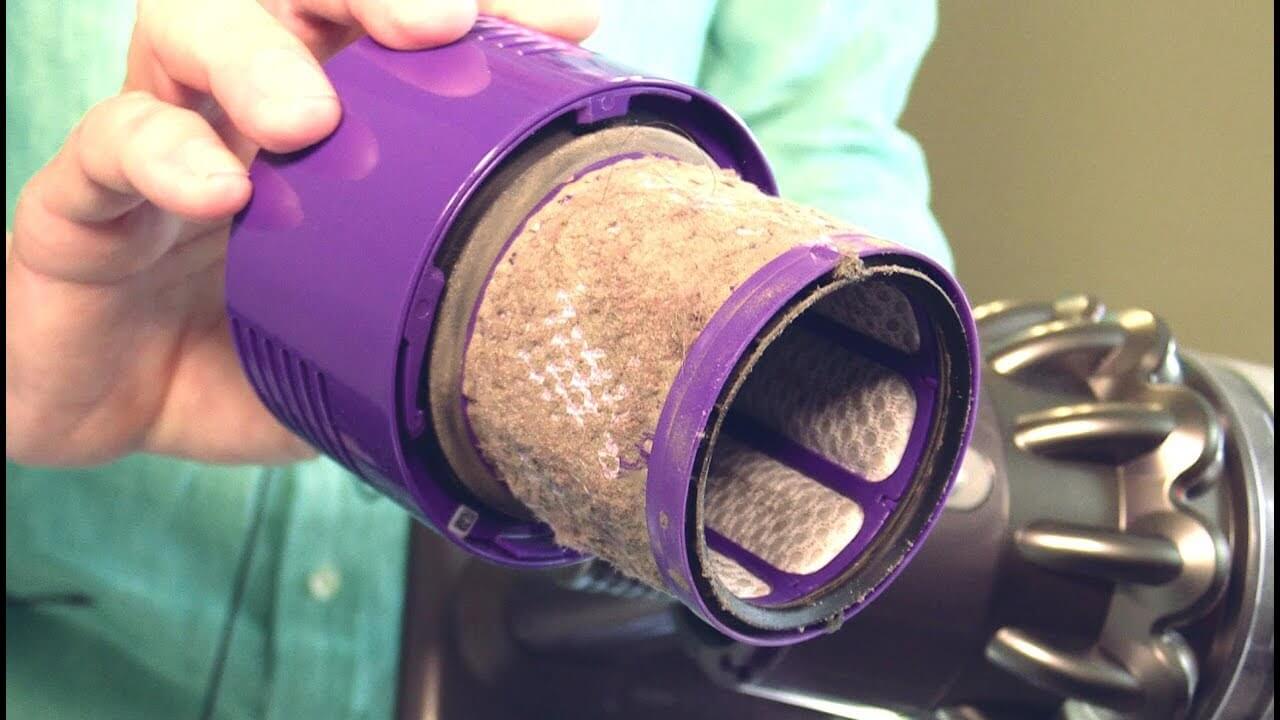
* Keep the vacuum's filters clean to ensure optimal performance.
* Store the vacuum in a dry, cool place to prolong its lifespan.
By following this guide and these additional tips, you'll be able to enjoy a long-lasting and efficient cleaning experience with your Dyson vacuum.

Related Post

Crusade for Survival: Albacete Balompié vs Celta Vigo Stats Reveal the Key to Upsetting the Formidable Opponent

Winklevoss Twins: The Life-Changing Lawsuit, Their Billion-Dollar Empire, and What's Next

When Does Santa Claus Arrive in America: A Seasonal Timeline of Delivery

Emergeortho Patient Portal: Revolutionizing Patient Engagement and Care Coordination